
I’m trying to be more efficient when it comes to printing repeated parts using my Creality K1C. A fancy way to do this is to stack the parts on top of each other leaving a 0.2mm gap. Sounds easy enough, but I’m not able to stack and add the gap using Creality Print. So what’s a nerd to do? Create the gap in the CAD software.
I’m still in the infancy of my CAD journey and learning how to design my own prints. I’ve been using Tinker CAD to design and modify other designs I’ve found out in the world. It’s worked well for me, but for all I know I’m doing it the hard way.
So, how to apply the 0.2mm gap and stack the prints? Duplicate and Elevate!
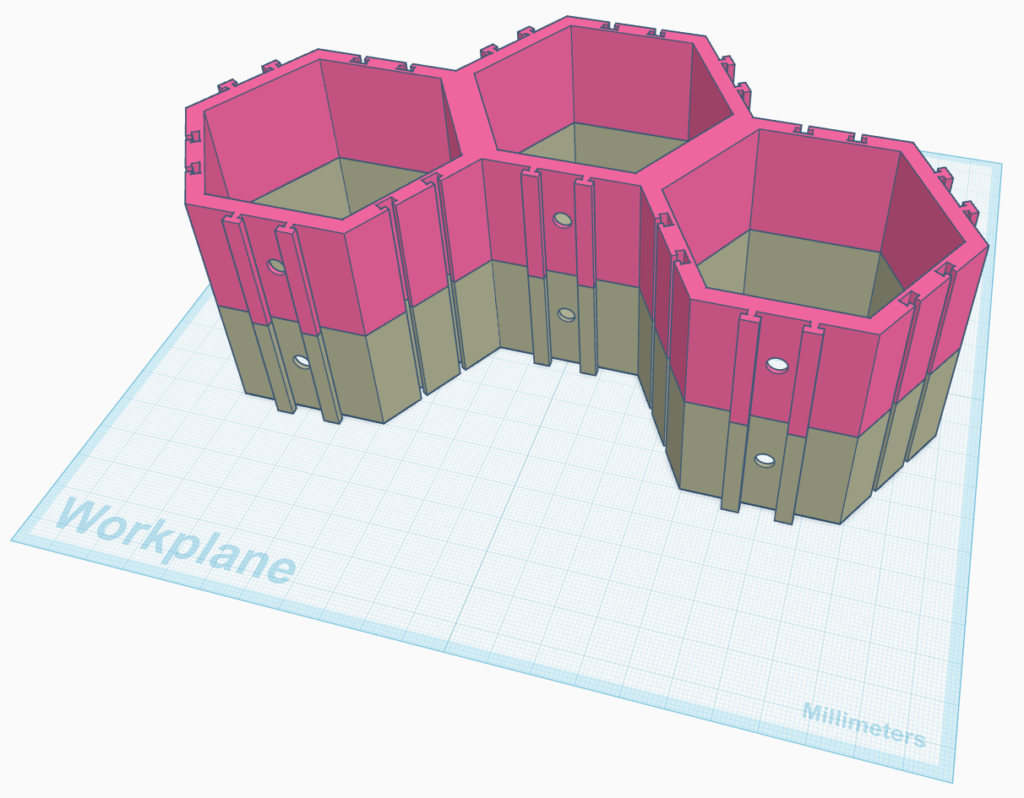
In Tinker Cad I could see that a single level was 32mm tall. So, I duplicated the object, pulled it to a height of 32.2mm, and presto! I had a floating duplicate of the LEGO Hexagons! After exporting and opening the file in Creality Print, I did get a warning about over hangs and unsupported part of the object, but you just blow past that because humans know better!
I hope.
I’m typing this up as the print is currently running on my printer.
In Creality Print, I did have to tell the slicer to iron all top surfaces. This should make it easier to separate the print once it is done. I’ve seen people do this for the Gridfinity prints, hopefully it works here too.
Again, the print is still running. Hopefully I’m not wasting 7 hours of print time and PLA filament.